Weathering Locomotives Tutorial
In this tutorial, i'm going to show you how to weather a locomotive using Paint Shop Pro X4. I will be using the BN GP38-2 locomotive from Jointed Rail for this. This can be done on other diesel locomotives other then the one i'm using. Oh, and images enlarge when you click on them.
RGB Values
These are the RGB Values I use for weathering:
Grime: 0, 0, 0
Rust: 136, 57, 4
Dirt: 126, 113, 28
Dust: 192, 192, 192
Credits go to 3dtrains.com for these.
Grime: 0, 0, 0
Rust: 136, 57, 4
Dirt: 126, 113, 28
Dust: 192, 192, 192
Credits go to 3dtrains.com for these.
First thing to do...
The first thing you want to is to clone the asset in CMP (right click on locomotive, then click clone). After you clone it, you can edit the config to give it a different name. I will be calling this locomotive "BN GP38-2 Weathered".
Ok, you cloned it.
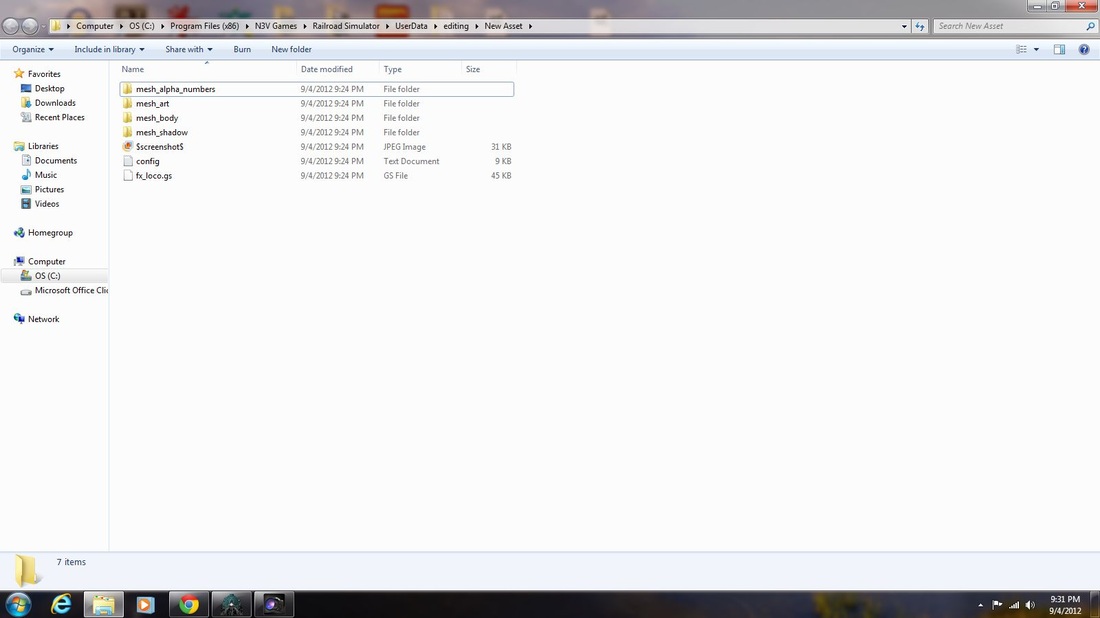
After you clone it, right click on the asset and click "edit in explorer". The texture files for this locomotive will be found in the "mesh_body" folder (texture files for locos and rolling stock are usually located there). Scroll down until you see "map1" and map2" (both .tga files). Map 1 is the front and back of the train and Map 2 is the cab sides and other details.

Lets get down to the nitty gritty.
After opening both files, create the layers "grime", "dirt", "dust", and "rust". The last 2 layers are optional.

After making the layers
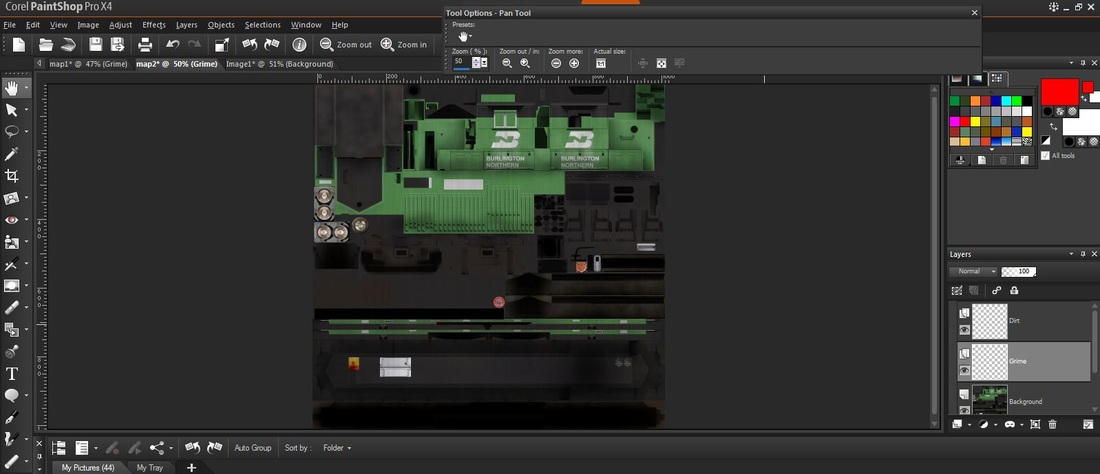
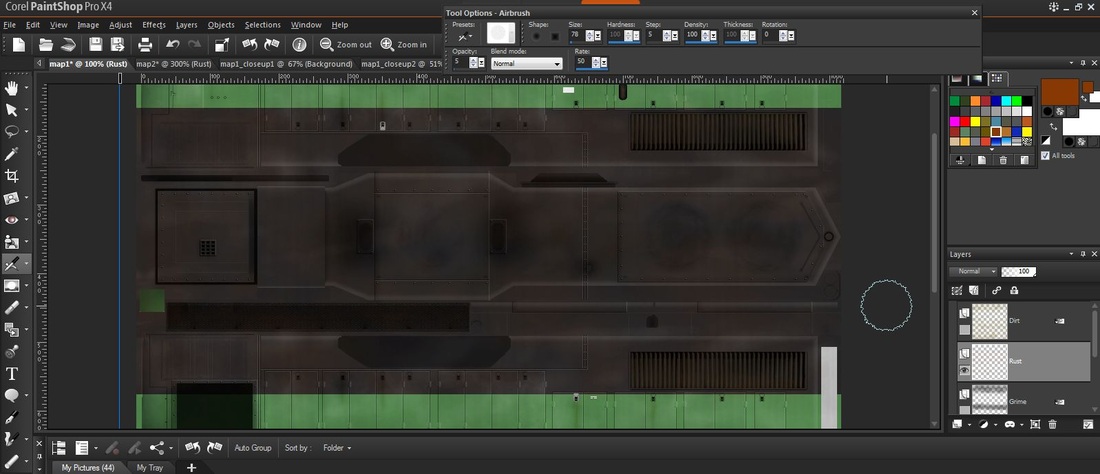
After you make the layers, you need to use the airbrush tool off to the left and select the "fuzz soft" tip. You use just a black color for the grime layer (RGB: 0, 0, 0) and you can do some brush strokes kind of like this:
Don't forget to adjust the opacity to anywhere between 4 and 12 for a nice coat.
Don't forget to adjust the opacity to anywhere between 4 and 12 for a nice coat.
You can use a smaller brush to get smaller areas and on some smaller objects.
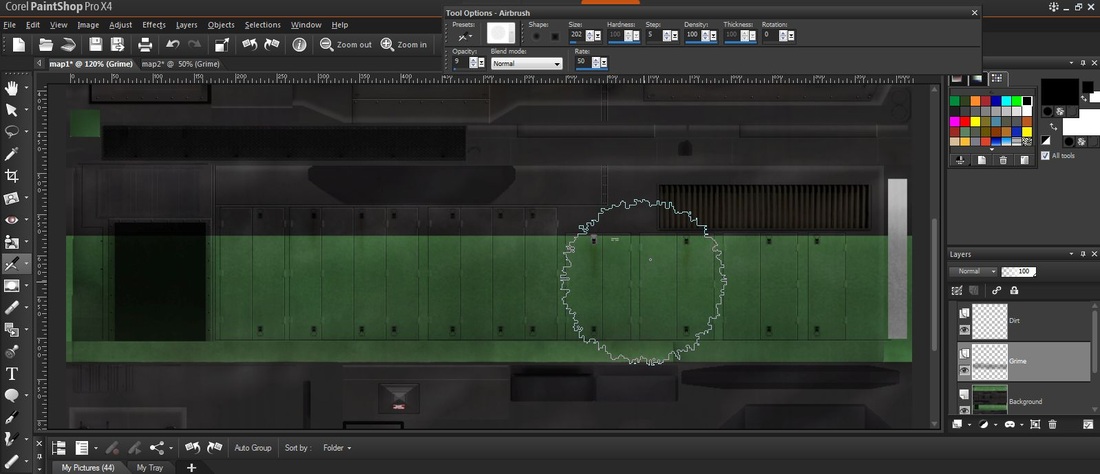
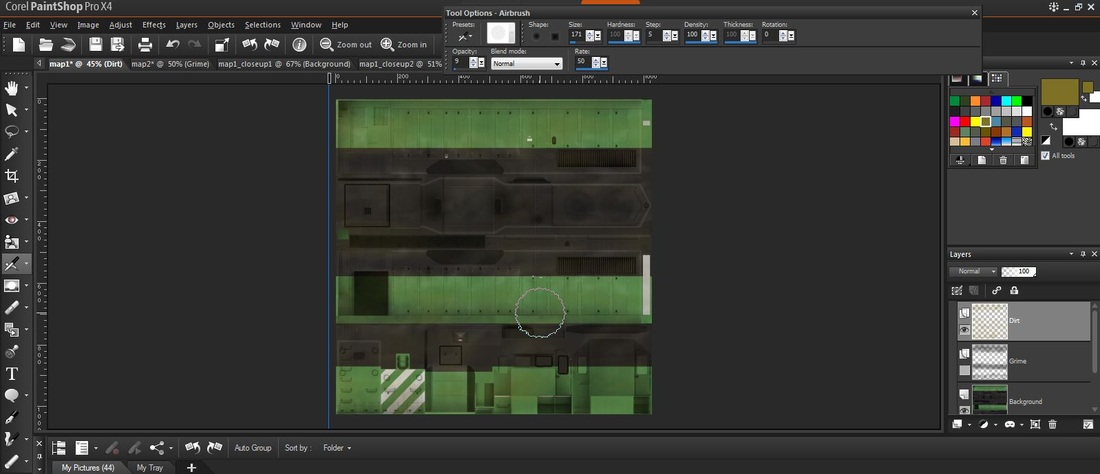
When your done with the grime layer, you can start on the dirt layer. Usually, I put dirt all over the locomotives, so your map will end up like this (results may vary).
When your done with the grime layer, you can start on the dirt layer. Usually, I put dirt all over the locomotives, so your map will end up like this (results may vary).
Once you're done with those layers, you can adjust the transparency to your liking.

For the rust layer, I color the parts of the engine that are metal such as the walkways on "map2.tga". A light coat of rust can go a long ways.
These methods are done the same way on "map2.tga". All you need to do there after you weathered it is to adjust the layer transparency to the same amount you did on "map1.tga" so both maps blend together well when you have the model in-game.
You can also weather the trucks. You clone the bogey and edit and explorer and once your in explorer, you choose the file "bogey.tga" (create the texture layers too). For alpha numbers, I use GIMP. All you do is use the magic wand tool to select the number and add the colors you want. don't do the entire file though since this will create squares on the locomotive that are out of color. The numbers need to be saved as an uncompressed .tga or else they will appear as white squares in the game.
Ok, now that i'm done rambling...
Why don't we see what this looks like in game with the weathered trucks?
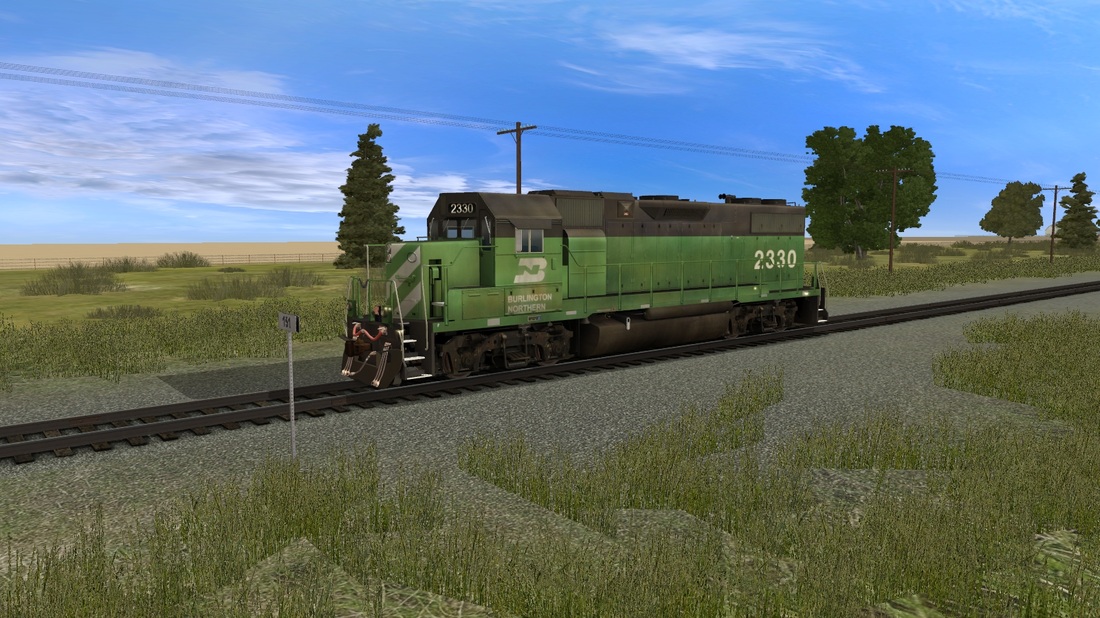
That's pretty much it. You'll get the hang of it over time and you'll also get better as you go along over time.
Now go create some rust buckets!
Now go create some rust buckets!
